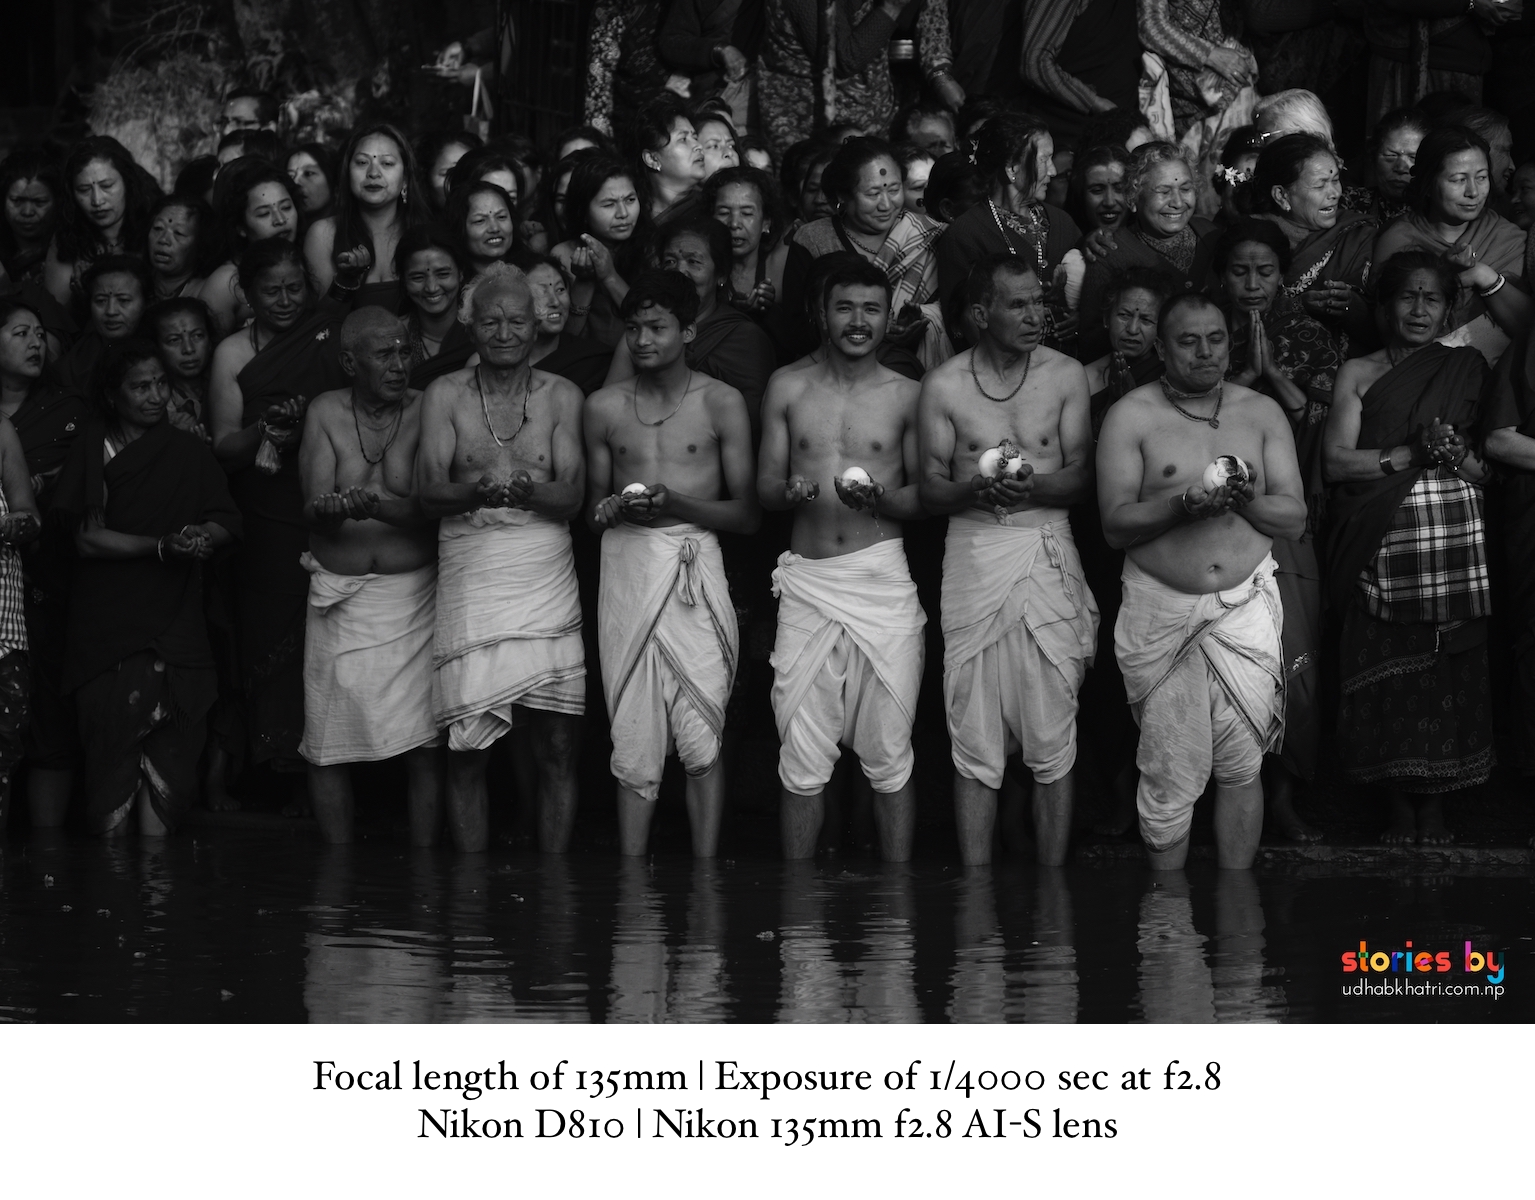
Zone Focusing: The Forgotten Skill
What Is Zone Focusing? (The Beginner Visualizer)
Autofocus tries to lock onto a single point in space. Zone focusing does the exact opposite: it sets a "3D bubble of sharp space" in front of your camera lens. As long as your subject steps inside that bubble, the photograph will be acceptably sharp — no autofocus lock required, and no shutter delay.
Instead of raising the camera, waiting for a focus box to turn green, and missing a fleeting human gesture, you set your focus distance once and focus entirely on timing and framing.
Reading Your Lens Depth-of-Field Scale
Manual lenses and traditional street prime lenses have markings on the barrel. Understanding these marks is the key to mastering zone focusing:
- Distance Scale: Numbers showing meters or feet (e.g., 1m, 1.5m, 2m, 3m, 5m, ∞).
- Aperture Scale: Ticks corresponding to your chosen aperture (e.g., f/8 or f/11).
- The Depth Band: Look at the f/8 tick mark on the left side of your focus mark and the f/8 tick mark on the right. The distance listed between those two numbers is your total sharp zone.
Example Setup: 28mm or 35mm Lens at f/8
If you align your center focus mark to 2.5 metres at f/8, the depth-of-field markings will show that everything from roughly 1.5 metres to 5 metres is in sharp focus. Anything entering that 3.5-metre field of view is automatically fair game.
Step-by-Step Base Setup
- Switch to Manual Focus (MF): Turn off AF tracking completely so your lens motor stays motionless.
- Choose Aperture (f/8 or f/11): This provides a forgiving depth of field without causing severe diffraction softness.
- Set a Fast Shutter Speed: Maintain at least 1/250s or 1/500s to freeze human movement while walking.
- Use Auto ISO with a Ceiling: Set ISO to Auto (up to ISO 3200 or 6400) so your camera automatically compensates for shade and direct sunlight while maintaining your fixed aperture and shutter speed.
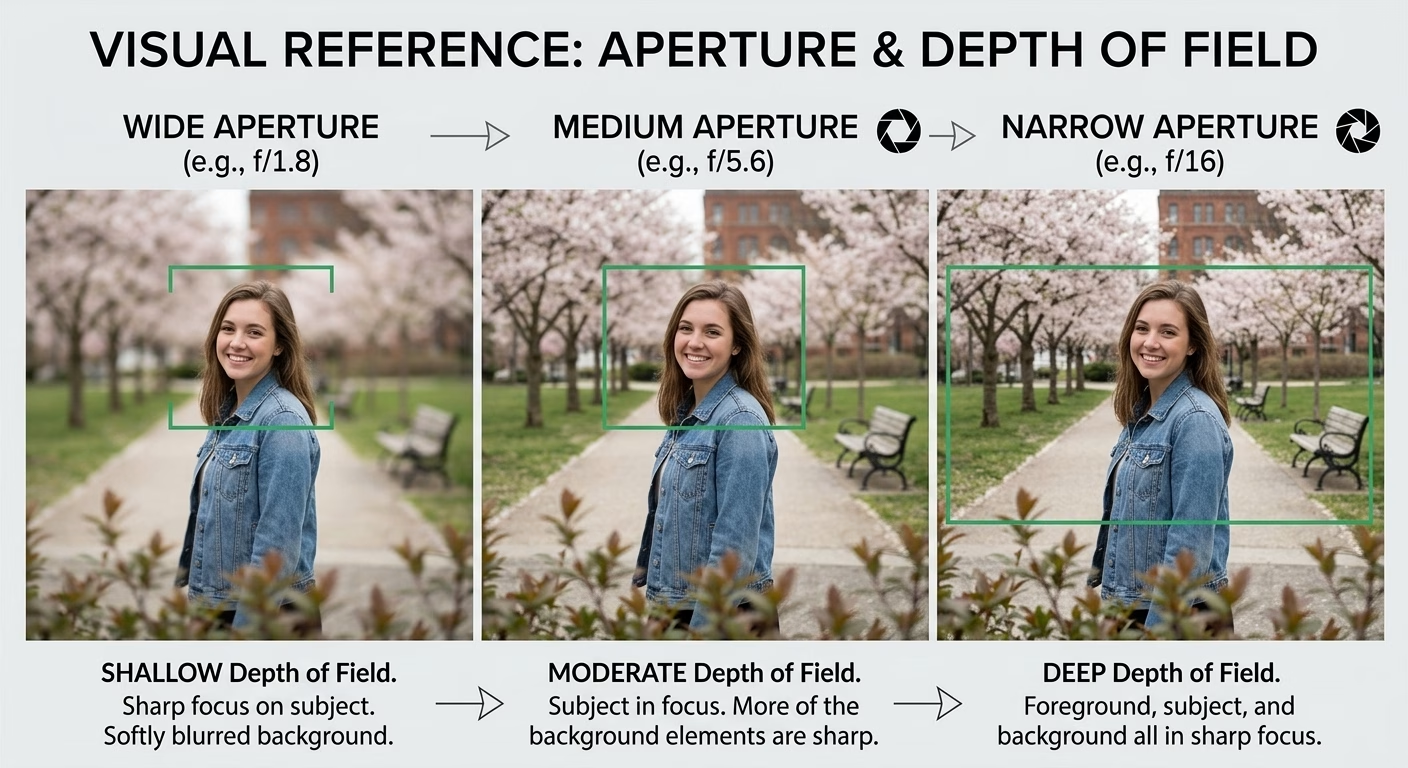 Visual Reference: The sharp depth zone shifting with aperture changes
The Beginner Drill: "The 3-Meter Bubble"
The hardest part for beginners isn't setting the lens — it's training your eyes to estimate physical distance accurately. Try this simple 15-minute field exercise:
- Set your camera manually to exactly 3 metres at f/8.
- Pick a sidewalk or open courtyard and start walking slowly.
- Before you raise your camera, pick a light pole, bench, or person ahead and ask yourself: "Are they roughly 3 metres away?"
- Take the shot without double-checking autofocus. Over a few days, your body naturally internalizes what 2 metres, 3 metres, and 5 metres look like on the street.
Intermediate & Advanced Tactics
1. Modern Lens Shortcuts (For Lenses Without Physical Scales)
Most modern autofocus lenses don't have physical focus tabs or distance numbers printed on the barrel. You can get the exact same instant results using these digital workarounds:
- The Screen Distance Gauge: Switch your camera to Manual Focus (MF). As you turn the focus ring, a digital bar pops up inside your electronic viewfinder or LCD screen showing your exact distance in meters. Turn it until it rests on 2.5m or 3m.
- The "Lock & Switch" Shortcut: Point your camera at an object roughly three big steps away (a streetlight or doorway), let autofocus lock onto it once, and immediately flip your camera/lens switch to Manual Focus (MF). Your focus distance is now locked at 3 meters until you flip it back.
- Digital Snap Presets: Program a custom mode dial slot (like C1 or U1) with Manual Focus pre-set to 2.5m, an aperture of f/8, and a shutter speed of 1/500s. Turning your camera dial to C1 instantly sets your camera for the street without touching a lens ring.
2. Sensor Size Reality (Crop Factor Shift)
Depth of field changes drastically depending on your camera's sensor size. A 28mm or 35mm lens on a Micro Four Thirds or APS-C camera gives a much deeper sharp zone at f/5.6 than a full-frame sensor does at f/8. On crop-sensor systems, you can achieve massive depth of field even at wider apertures, letting you keep shutter speeds high in low-light alleys.
3. The Hyperfocal Distance Shortcut
If you are documenting festivals, processions, or wide architecture where you want maximum background detail, set your focus to its hyperfocal distance. At f/11 on a 28mm lens, setting focus to ~2.5 metres keeps everything from 1.2 metres all the way to the horizon acceptably sharp.
Common Pitfalls to Avoid
- Shooting Wide Open (f/1.4 - f/2.8): The sharp depth zone at wide apertures is far too narrow for zone focusing; slight distance errors will blur your subject.
- Static Distance Traps: Forgetting to adjust your zone when moving from narrow interior market corridors (1.5m focus) to open city squares (3m - 5m focus).
- Fearing High ISO: Do not widen your aperture to lower your ISO. Digital grain is easily managed; an out-of-focus subject from shallow depth of field cannot be fixed.
- Forgetting Minimum Focus Distance: Attempting tight facial portraits closer than 1 metre without adjusting your manual focus ring closer.
Final Thought
Zone focusing is ultimately about removing technical friction between your eye and the world. It strips away digital guesswork, breaks your reliance on autofocus screens, and trains you to react to visual moments instantly.