
Introduction to Photography
A Short History of Photography
Photography didn’t begin with a camera. It began with a dark room and a small hole.
The Camera Obscura (Dark Room)
Long before film or sensors, people noticed something strange: when light passed through a tiny hole into a dark room, an upside-down image of the outside world appeared on the opposite wall. This was the camera obscura — Latin for “dark room.” By the 10th century, scholars were using it to safely watch solar eclipses.
Leonardo da Vinci (15th Century)
Leonardo wrote about the camera obscura in his notebooks. He didn’t invent it, but he refined the understanding of it — using the principle to study perspective and sketch scenes with startling accuracy. Many artists followed, quietly using the technique to improve their drawing.
Canaletto & the 18th Century Artists
By the 1700s, painters like Canaletto were using refined camera obscuras to capture Venice’s canals and architecture with almost photographic precision. The boundary between art and science was beginning to blur.
The First Photograph (1825)
In 1825, a French inventor named Nicéphore Niépce made the earliest known surviving photograph — a view from his window. It took days of exposure. The image was rough, but the impossible had happened: light had been captured permanently.
The Daguerreotype (1840s)
Louis Daguerre improved the process dramatically. The daguerreotype became the first commercially practical camera, producing detailed images on polished silver-plated copper. For the first time, ordinary people could sit for a portrait without an artist.
The 35mm Era Begins (1927)
The Leica I changed everything. It was small, quiet, and used 35mm film — the same film used for cinema. Suddenly, photography left the studio. It moved to the street.
A Big Step Forward (1968)
The Nikon F introduced an integrated light meter, a feature that seems simple now but changed how photographers worked. No more carrying separate hand-held meters. The camera could read light itself.
The Digital Breakthrough (1999)
The Nikon D1 was the first digital SLR designed entirely from the ground up by a major camera company. It wasn’t the first digital camera ever made, but it was the first one that felt like a real camera to working professionals. It signalled the end of film’s dominance.
The Mirrorless Revolution
Digital SLRs had one leftover mechanical part: a mirror that reflected light into the viewfinder. Mirrorless cameras removed it. Light goes straight to the sensor, which feeds an electronic viewfinder. The result: smaller, lighter, faster cameras. Most modern cameras are now mirrorless — including the ones many street photographers carry today.
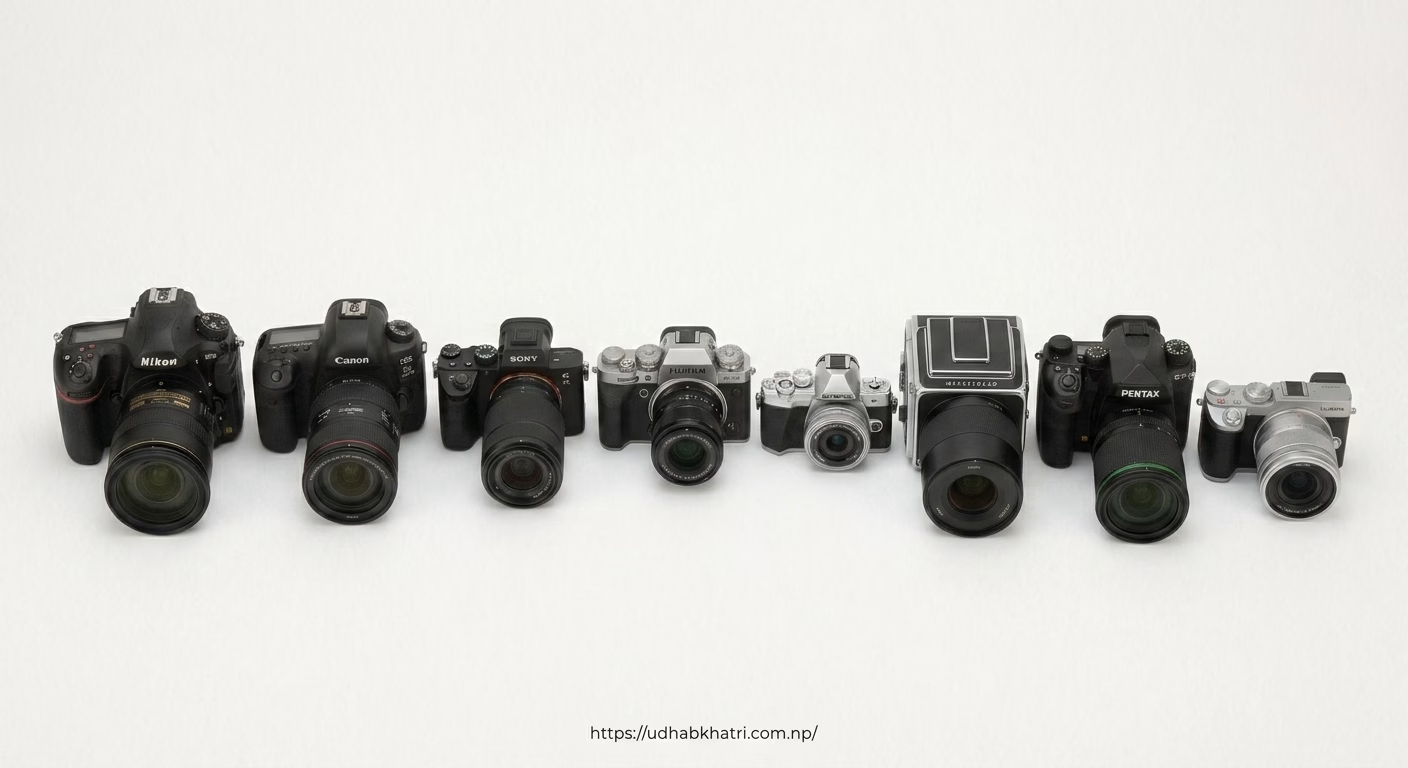 Types of cameras
How a Camera Works
Think of a camera as a box with one job: to gather light and save it.
- Light enters through the lens.
- The lens focuses it.
- The aperture — a set of blades inside the lens — controls how much light gets through.
- The shutter opens for a moment, letting that light reach the sensor.
- The sensor records the light as an image.
- The camera writes the image to a memory card.
In a DSLR, a mirror sits between the lens and the sensor. It reflects the light up into a pentaprism — a five-sided glass structure — that flips the image and sends it to your eye through the viewfinder. When you press the shutter, the mirror flips up, the shutter opens, and the light hits the sensor directly.
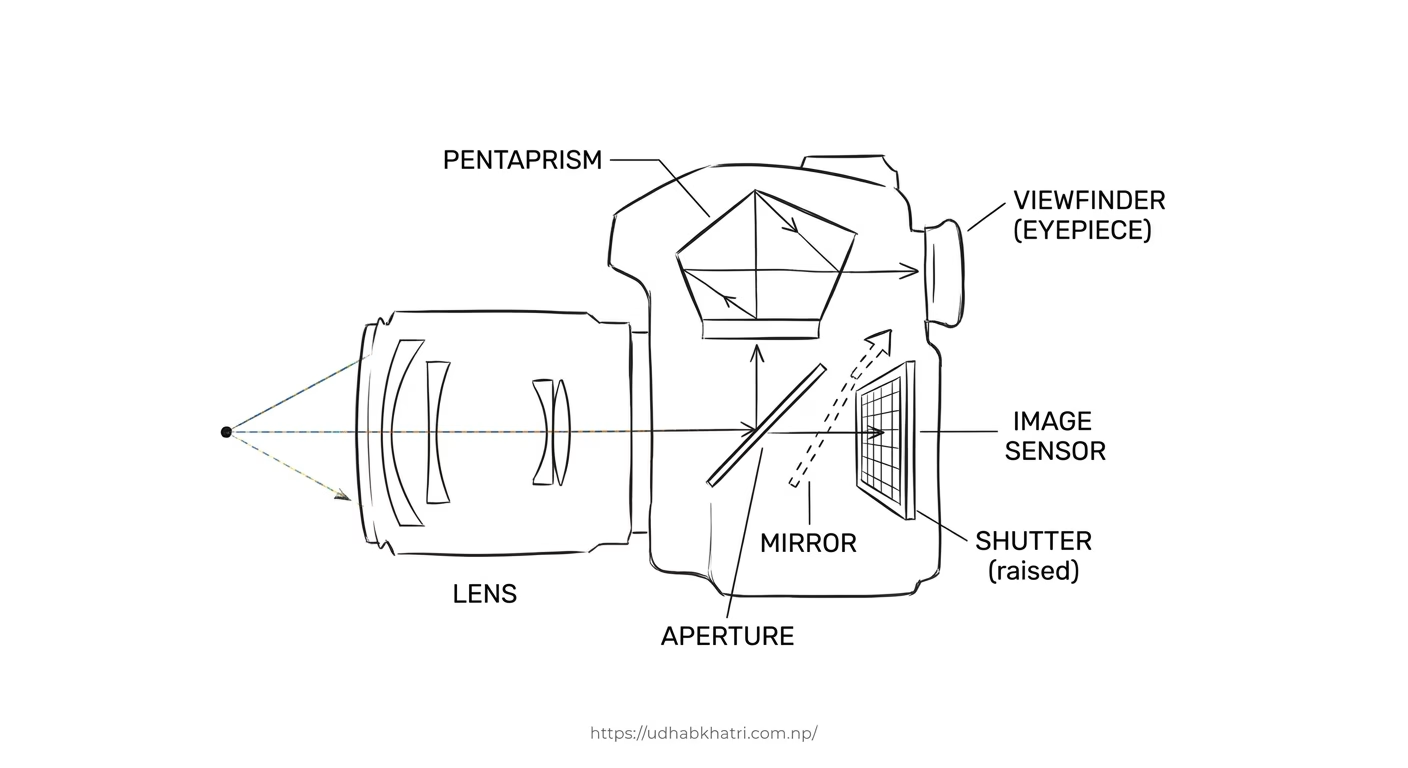
In a mirrorless camera, there is no mirror and no pentaprism. The sensor is always receiving light, and it sends a live image to an electronic viewfinder or the LCD screen. What you see is what you get.
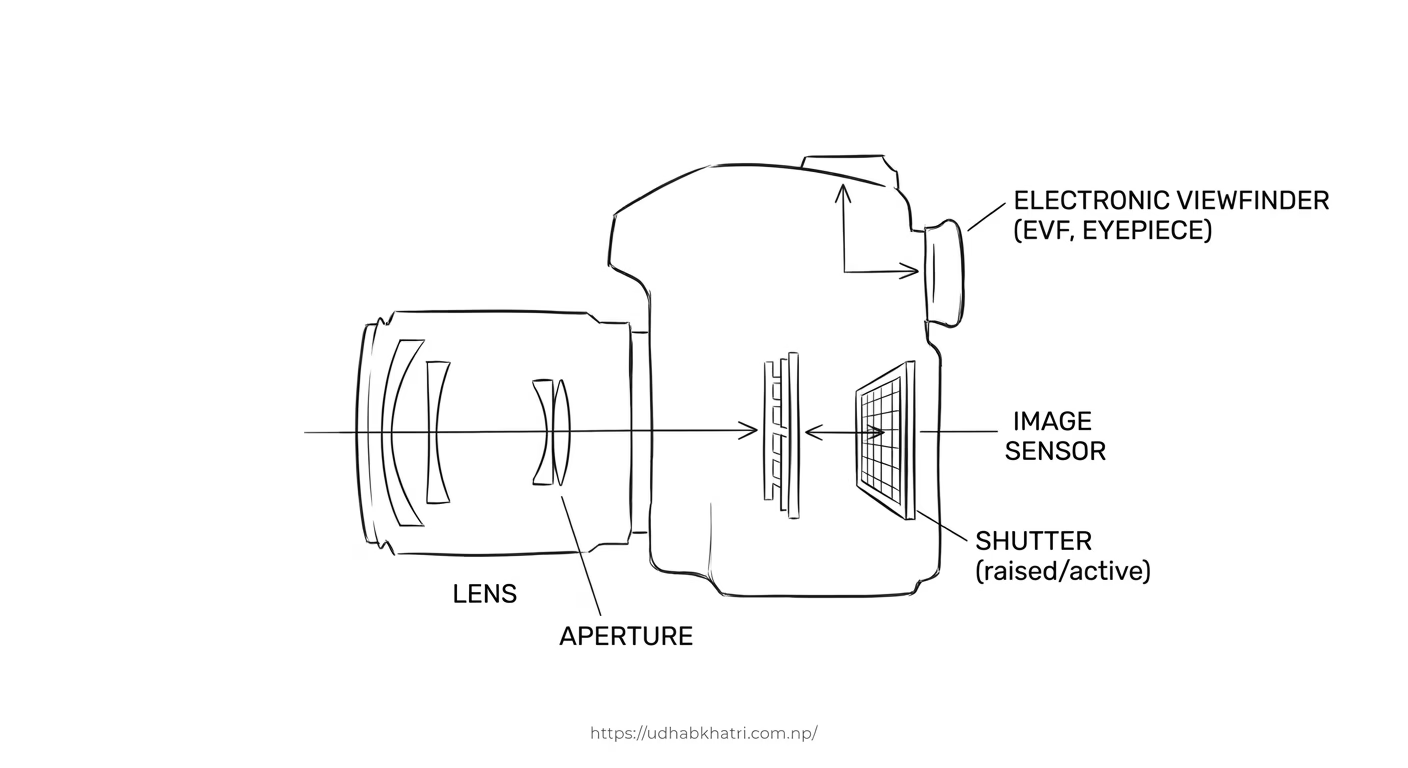
Both systems do the same thing: they turn light into a permanent image.
Camera Terminology
Aperture
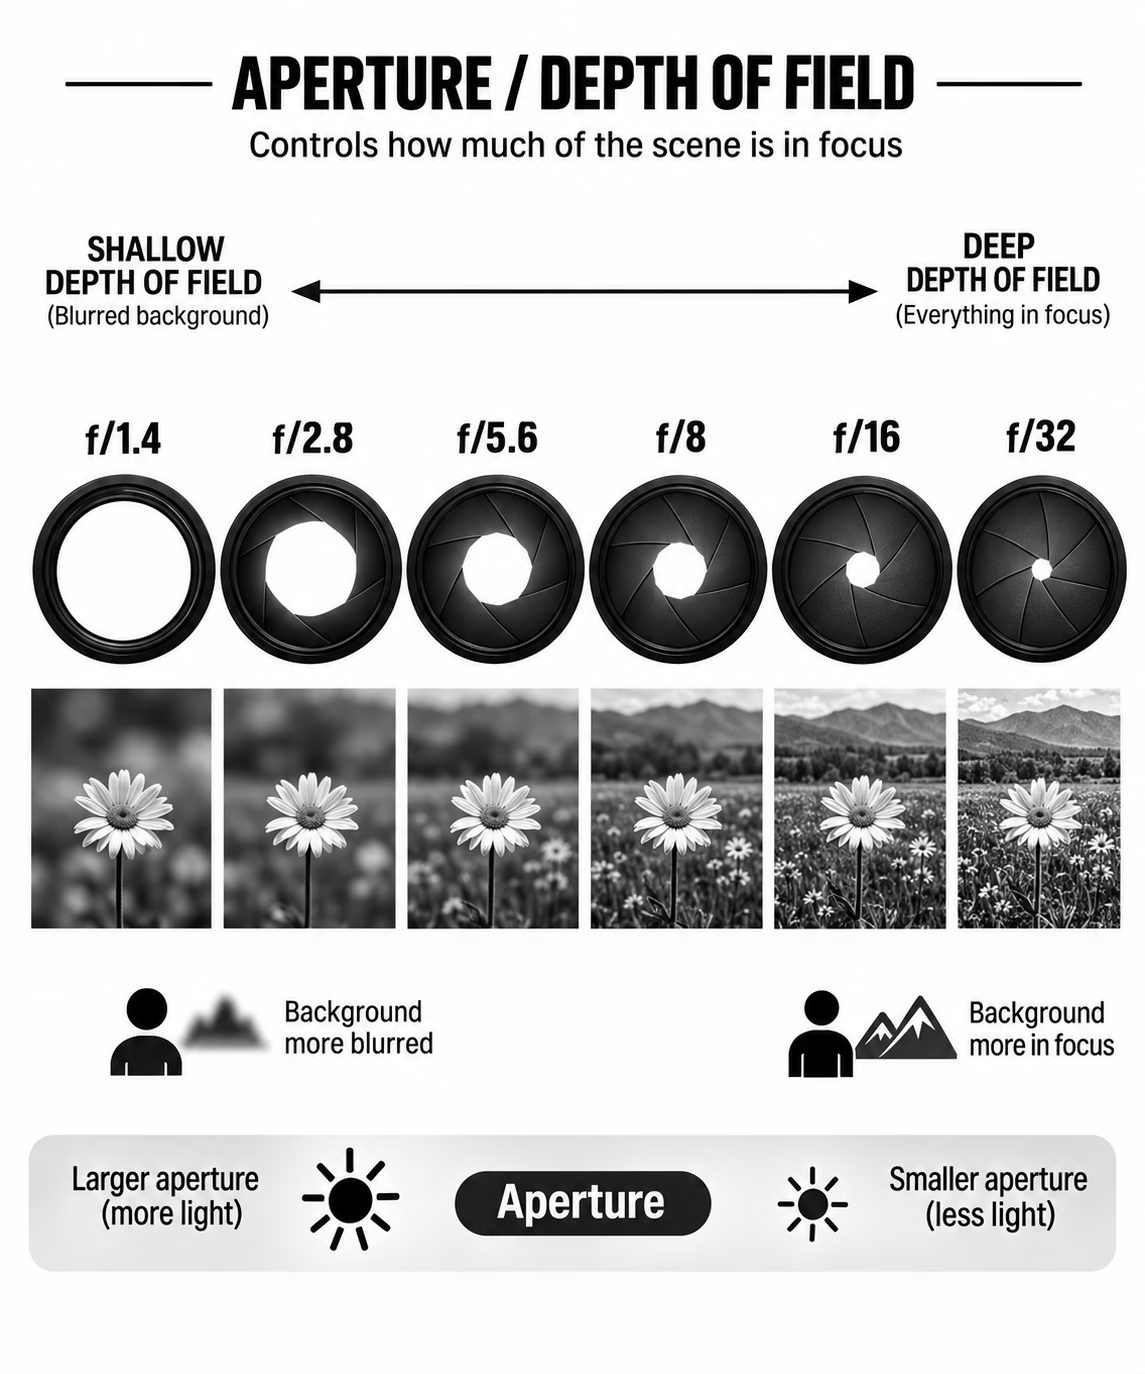
The aperture is the hole inside the lens that opens and closes. It works like the pupil of your eye.
- Large opening (small f‑number, like f/1.8) = more light enters, shallow depth of field
- Small opening (large f‑number, like f/16) = less light enters, deeper depth of field
Aperture not only controls brightness — it controls how much of your scene is in focus.
 Sharp Background achived using f16
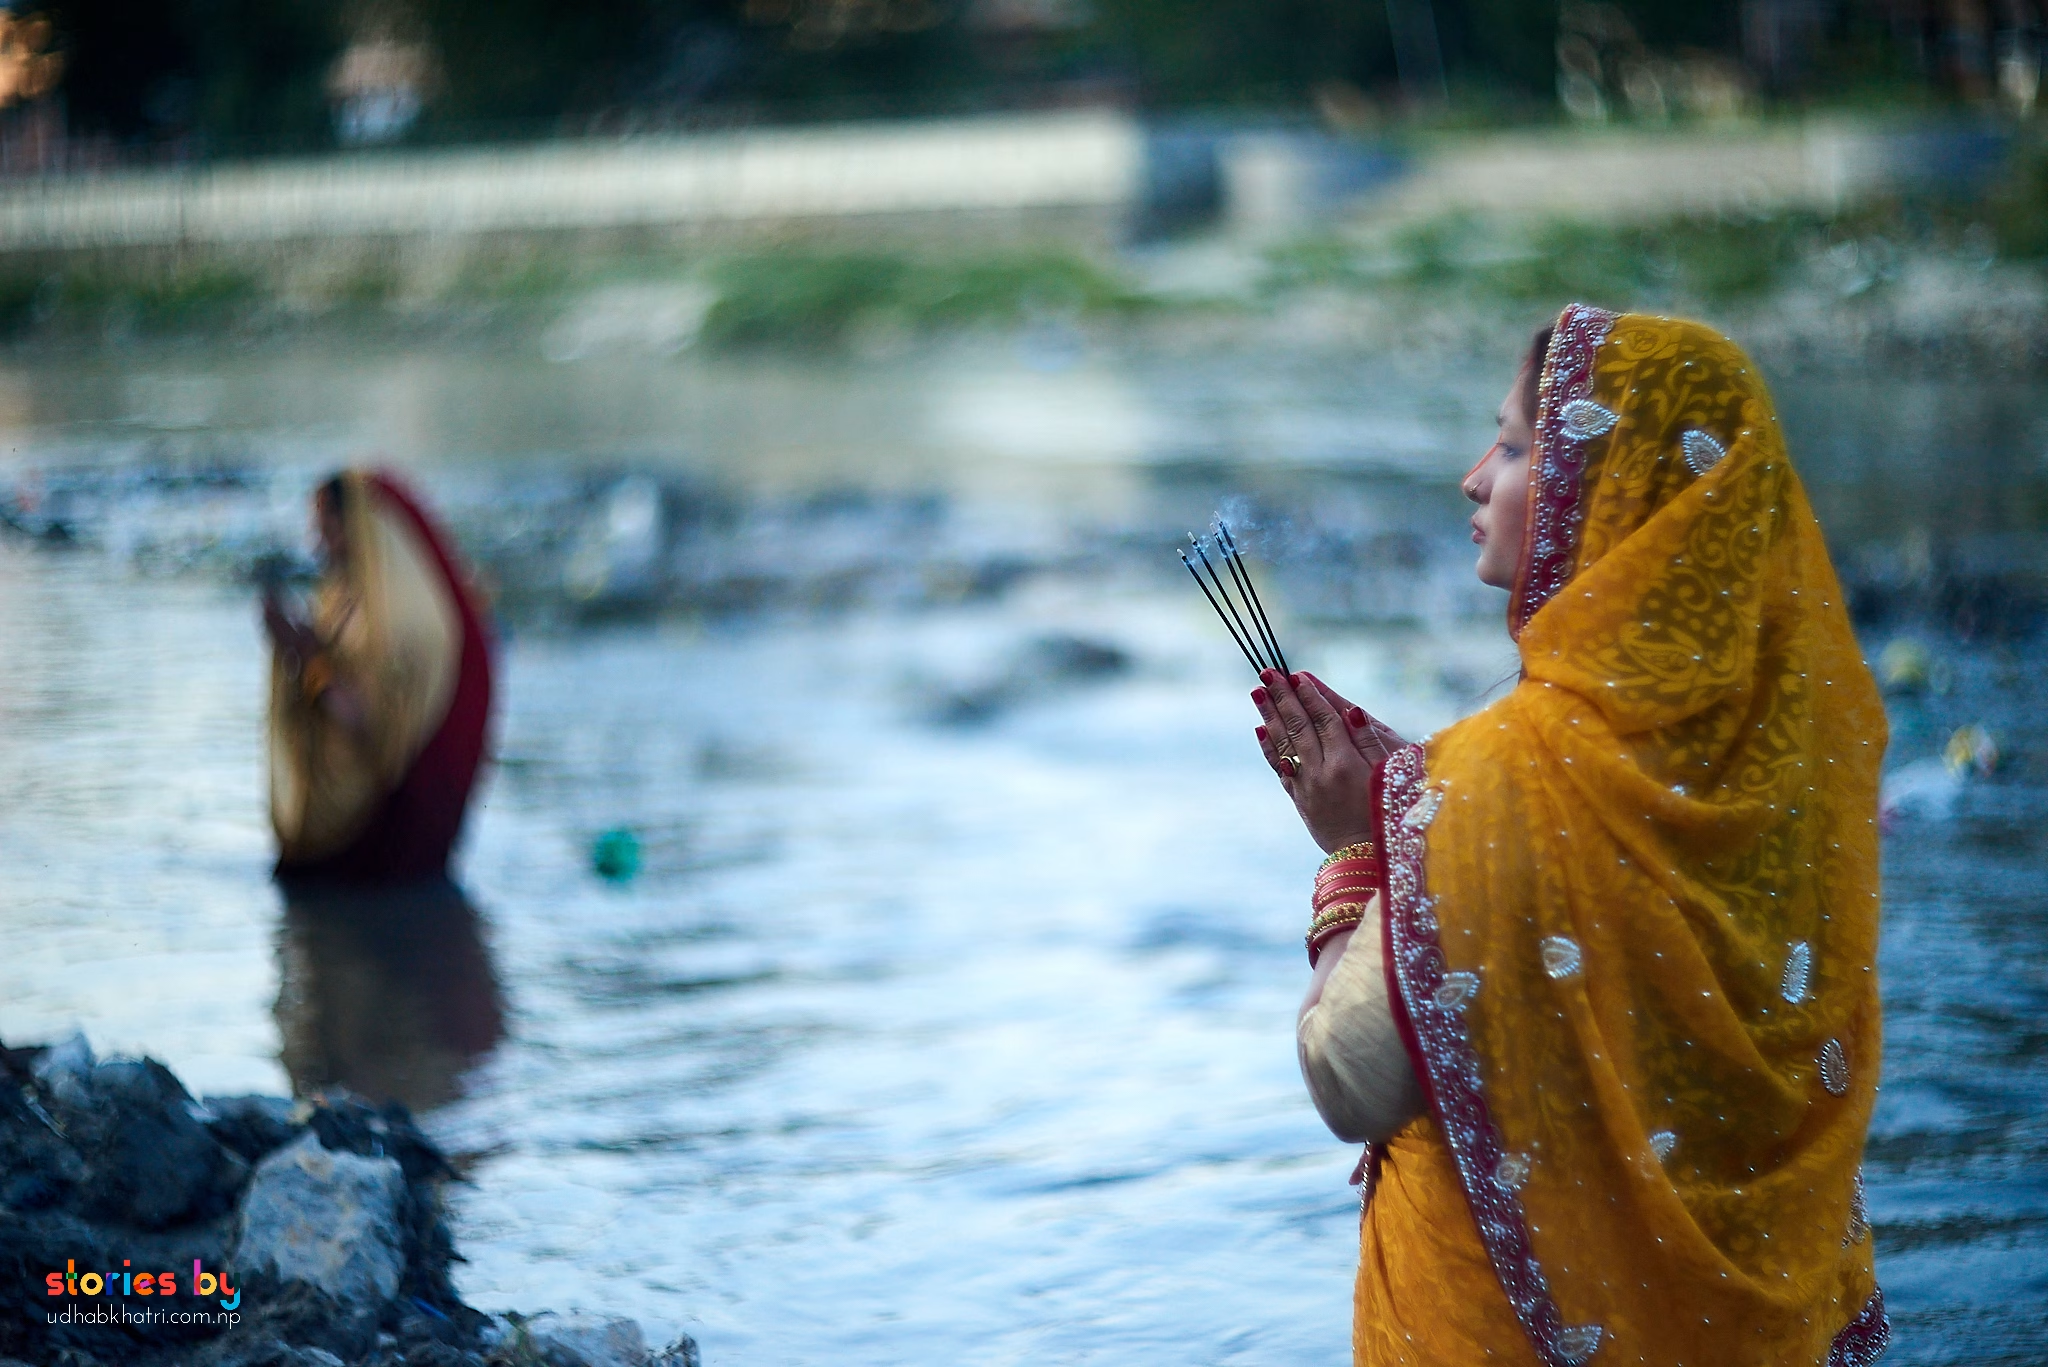 Blurred Background achived using f1.4
Shutter Speed
The shutter is a curtain that opens and closes in front of the sensor. Shutter speed is how long it stays open.
- Fast shutter (1/1000s) = freezes movement, but lets in less light
- Slow shutter (1/30s, 1s) = lets in more light, but moving things blur
Your own hands matter too. A slow shutter can introduce camera shake unless the camera is very steady.
No camera shake
Fast movement
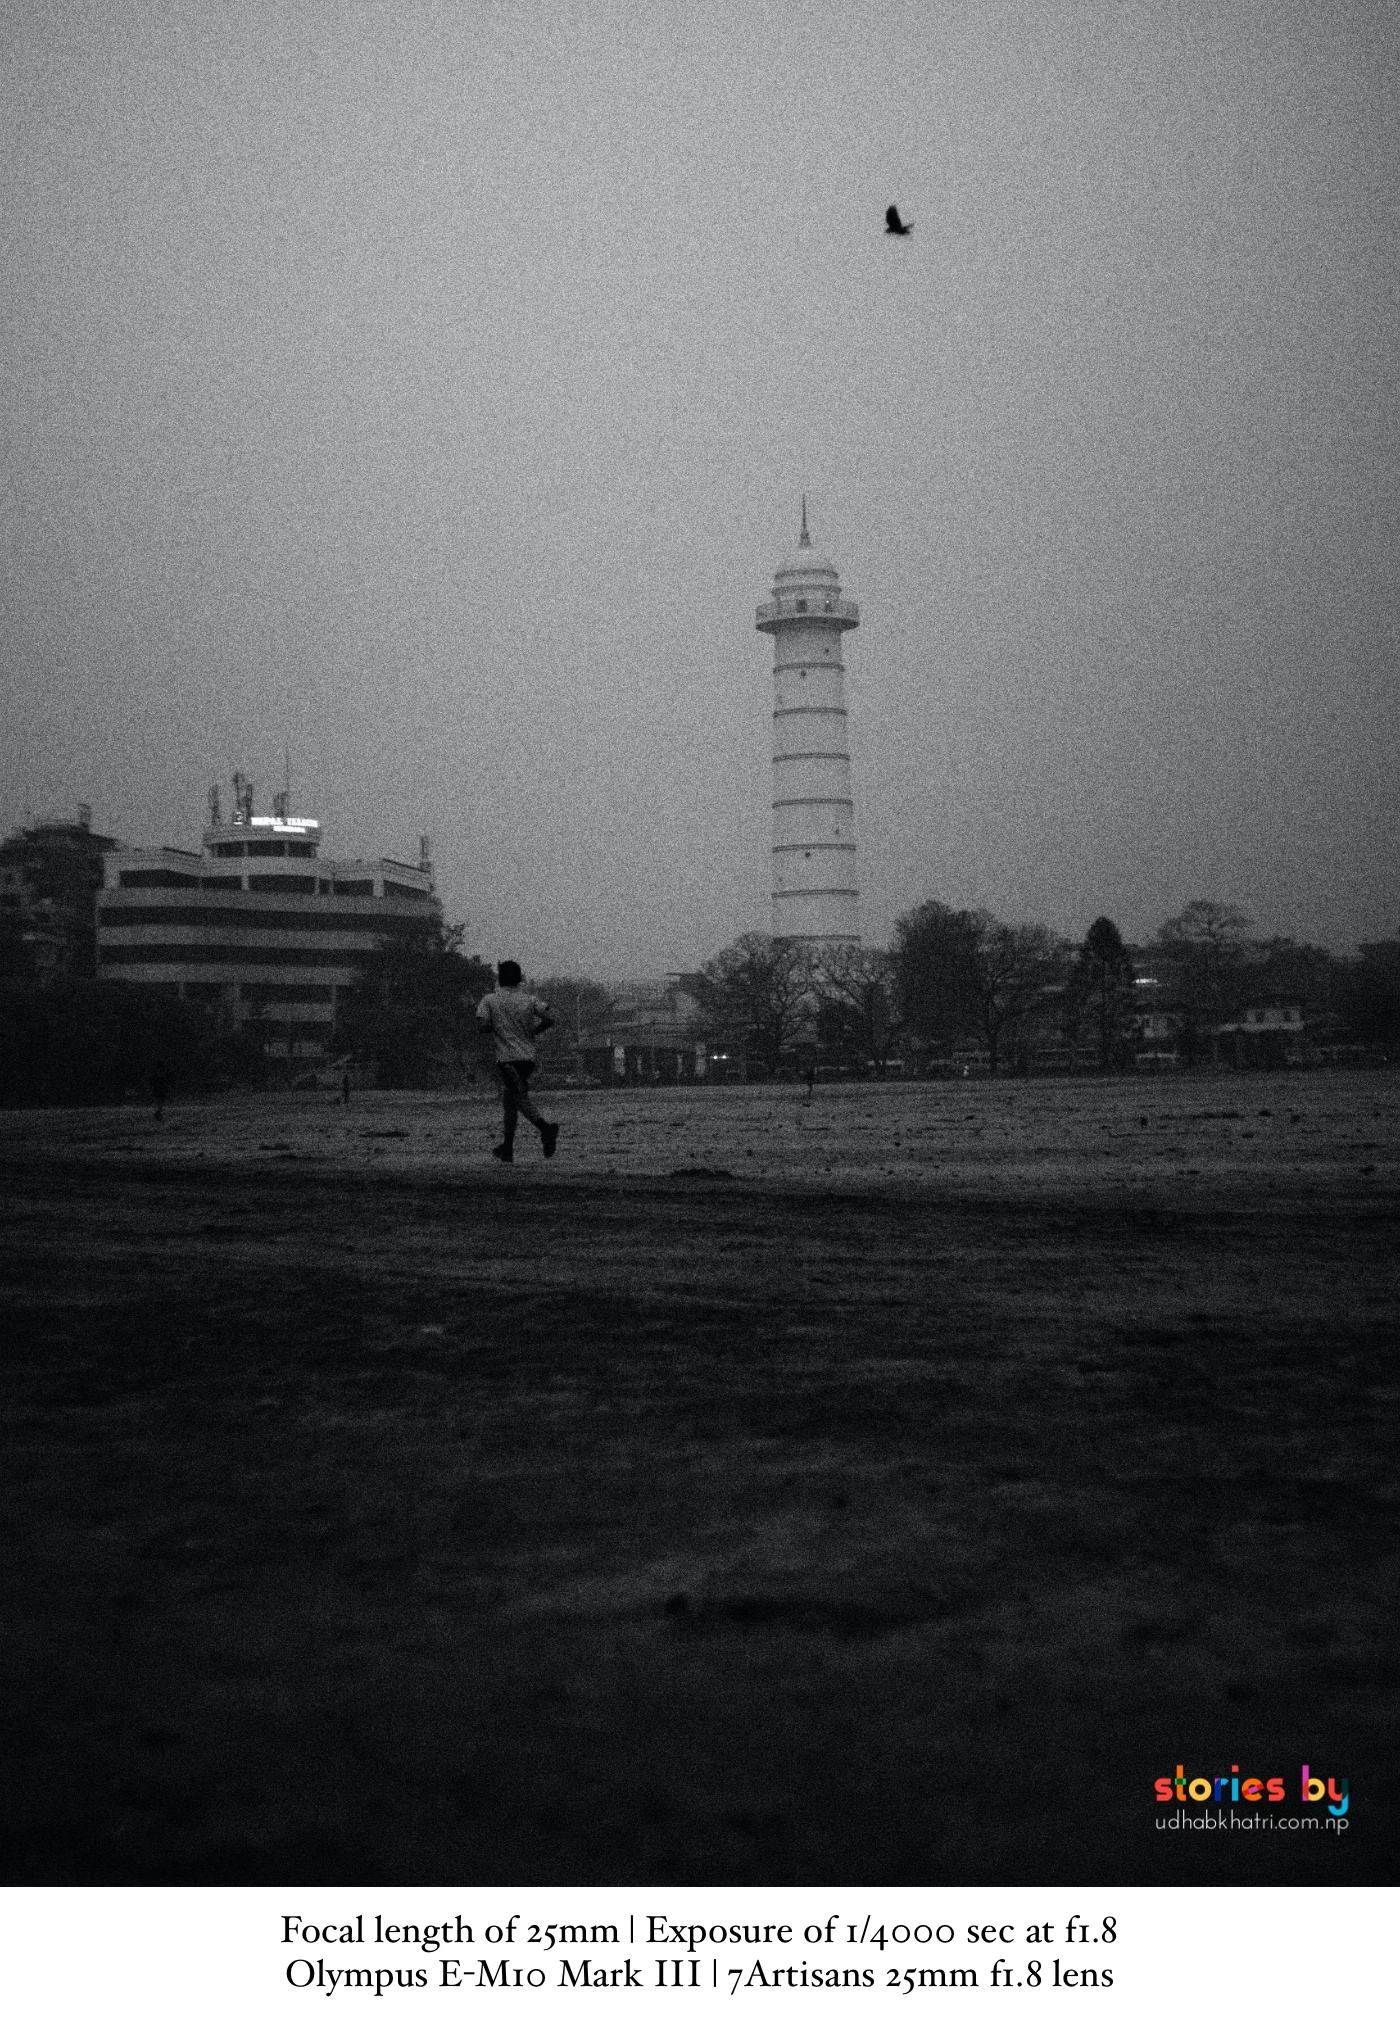 Frozen action using 1/4000 sec shutter speed
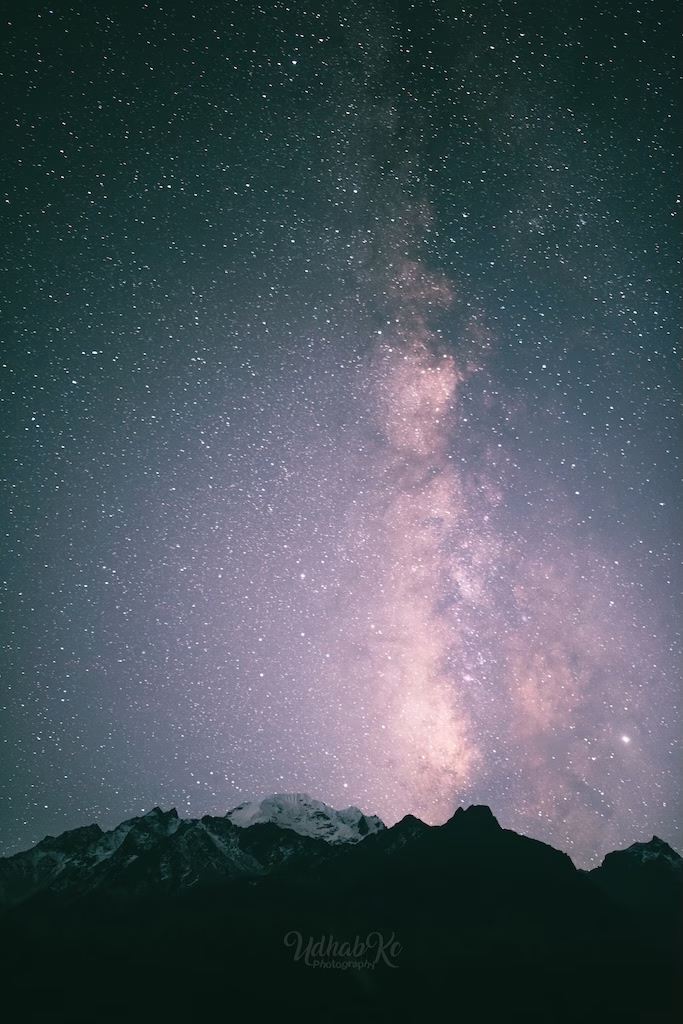 Astro Shots using 20sec of shutter speed
ISO
ISO is how sensitive your camera is to light.
- Low ISO (100, 200) = clean image, less sensitive to light
- High ISO (3200, 6400) = brighter image in low light, but more noise/grain
When you can, keep ISO low. When you must, don’t be afraid to raise it. A slightly noisy image is better than a dark, unusable one.
No visible grain
Barely visible
Still usable
Emergency use
· Less sensitive to light
· Captures less light
· Needs more light for good exposure
· Clean images, minimal noise
· More sensitive to light
· Captures more light
· Works in low light
· More noise / grain in image
White Balance
Light isn’t always white. Sunlight is warm. Shadows can be blue. Indoor lights can look yellow or green. White balance tells your camera how to interpret that light so white things actually look white.
Most cameras have settings like Daylight, Cloudy, Tungsten, and Auto. When in doubt, Auto is fine — but learning to adjust it gives you more consistent colour.
Depth of Field
Depth of field is the zone of acceptable sharpness in a photograph. It’s the distance between the nearest and farthest objects that appear acceptably focused.
Some photos have a very small zone of focus — this is called shallow depth of field. Others have a very large zone of focus — this is called deep depth of field.
- Small aperture (large f-number, like f/16) → deep depth of field → more of the scene in focus
- Large aperture (small f-number, like f/2) → shallow depth of field → very little in focus
But aperture is only one factor. Distance matters too: the closer your subject is to the camera, the shallower the depth of field becomes. Move further away, and depth of field deepens.
In street photography, moderate apertures (f/4 to f/8) are often the sweet spot. Enough depth to keep the story visible, but enough separation to keep the subject clear.
Moving further away from your subject deepens the zone of focus.
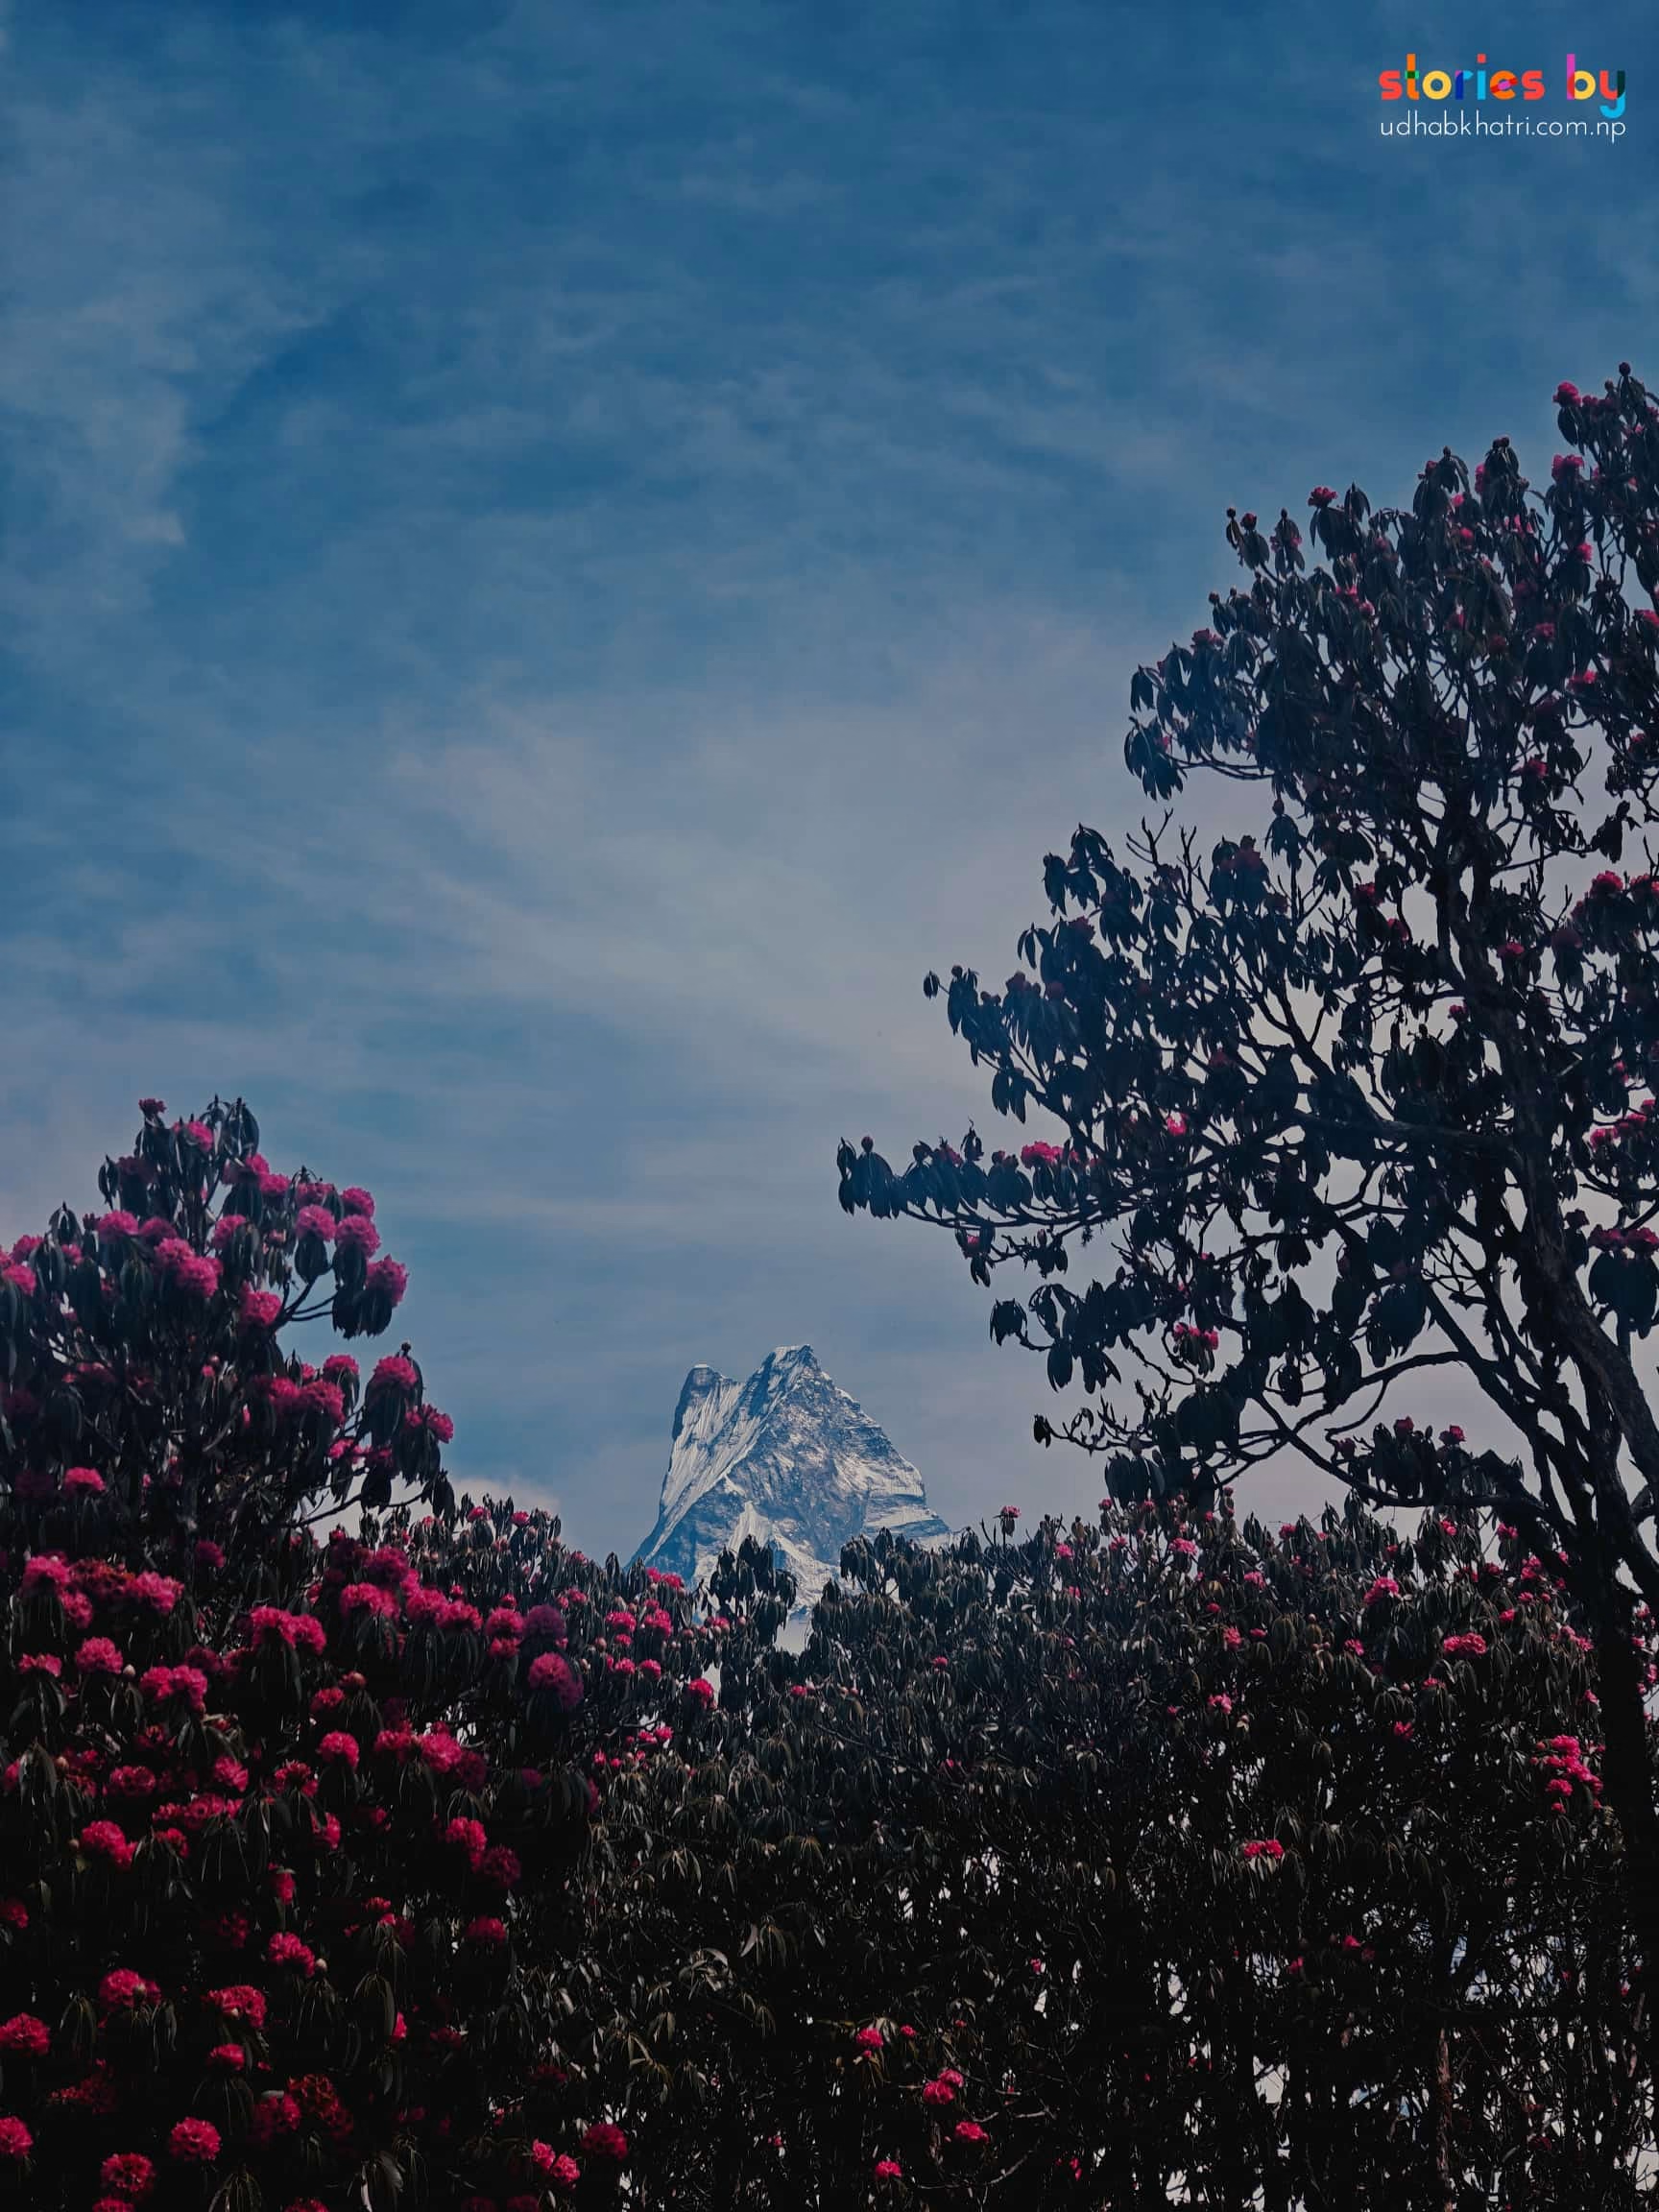 Deep depth of field using f16
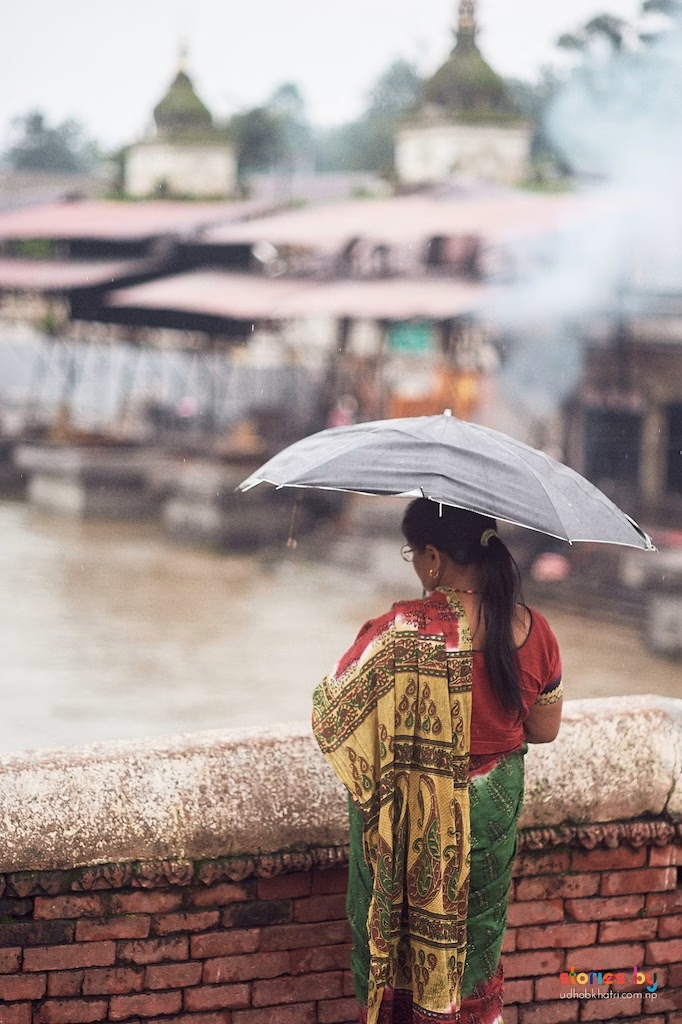 Shallow depth of field using f2
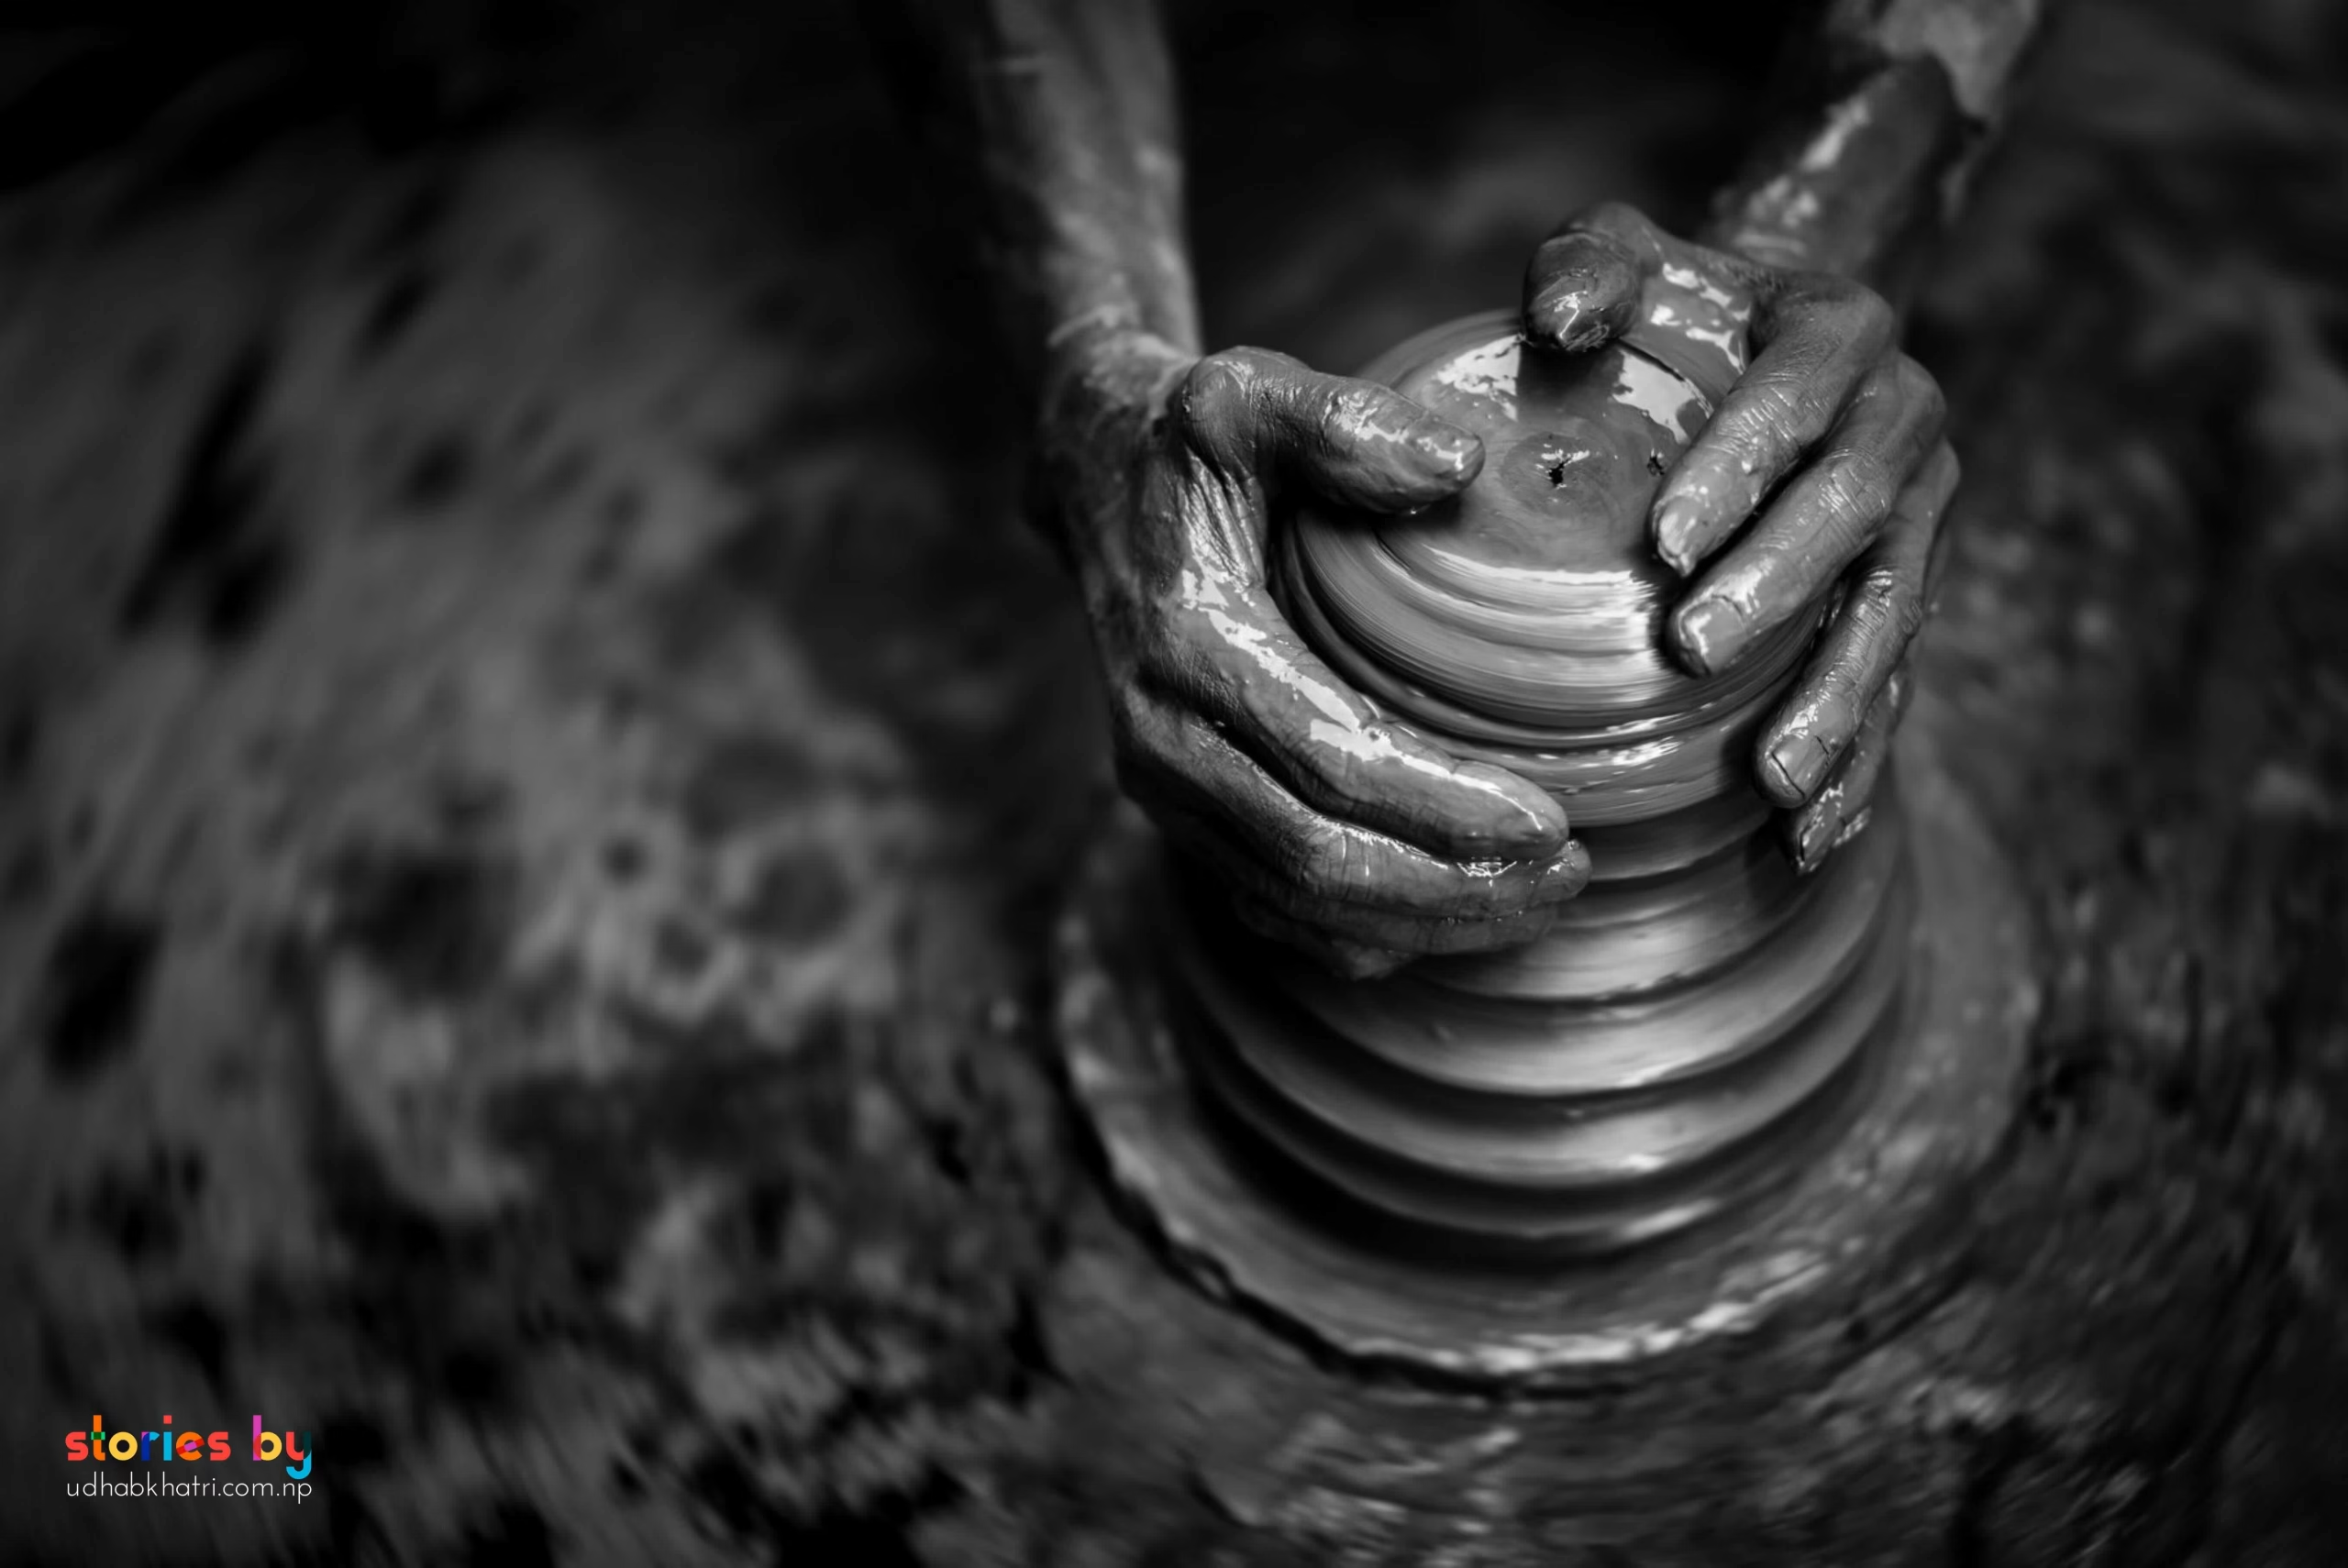 Shallow depth of field using f1.4
Shooting Modes
Your camera has several modes, and each one gives you a different balance of control and convenience.
Auto Mode (A)
The camera does everything: shutter speed, aperture, ISO, white balance. You just point and shoot.
When to use: Any time you want the camera to behave like a phone or point-and-shoot. Useful when you need to move fast and don’t want to think about settings.
Program Mode (P)
The camera chooses shutter speed and aperture, but lets you adjust ISO and other settings like white balance.
When to use: A good middle step. It gives you some control while still handling the heavy lifting. Great for learning how ISO affects your images.
Shutter Priority (S or Tv)
You choose the shutter speed and ISO. The camera picks the aperture.
When to use: When motion matters. Fast shutter to freeze action; slow shutter to blur movement. Also useful when you want to avoid camera shake with longer lenses.
Aperture Priority (A or Av)
You choose the aperture and ISO. The camera picks the shutter speed.
When to use: When depth of field matters most. Wide aperture for shallow focus, narrow aperture for deep focus. This is the mode many street photographers prefer because it gives creative control without constant adjustment.
Manual Mode (M)
You control everything: shutter speed, aperture, ISO. The camera shows you the meter, but the final decision is yours.
When to use: When you want complete control and understand how the settings interact. It takes longer to learn, but it teaches you exposure more deeply than any other mode.
The Exposure Triangle
The exposure triangle is the relationship between three things: aperture, shutter speed, and ISO. They work together to control how bright or dark your image is.
Imagine a triangle. Each side is one setting:
- Aperture: how much light enters through the lens
- Shutter speed: how long the light enters
- ISO: how sensitive the sensor is to that light
If you change one side, the others must adjust to keep the same brightness. For example:
- You open the aperture (more light) → you can use a faster shutter speed (less light)
- You slow the shutter (more light) → you can lower the ISO (less sensitivity)
There’s no perfect setting. There’s only the balance that gives you the image you want.
Learning this triangle is the moment photography stops being a guess and starts being a decision.
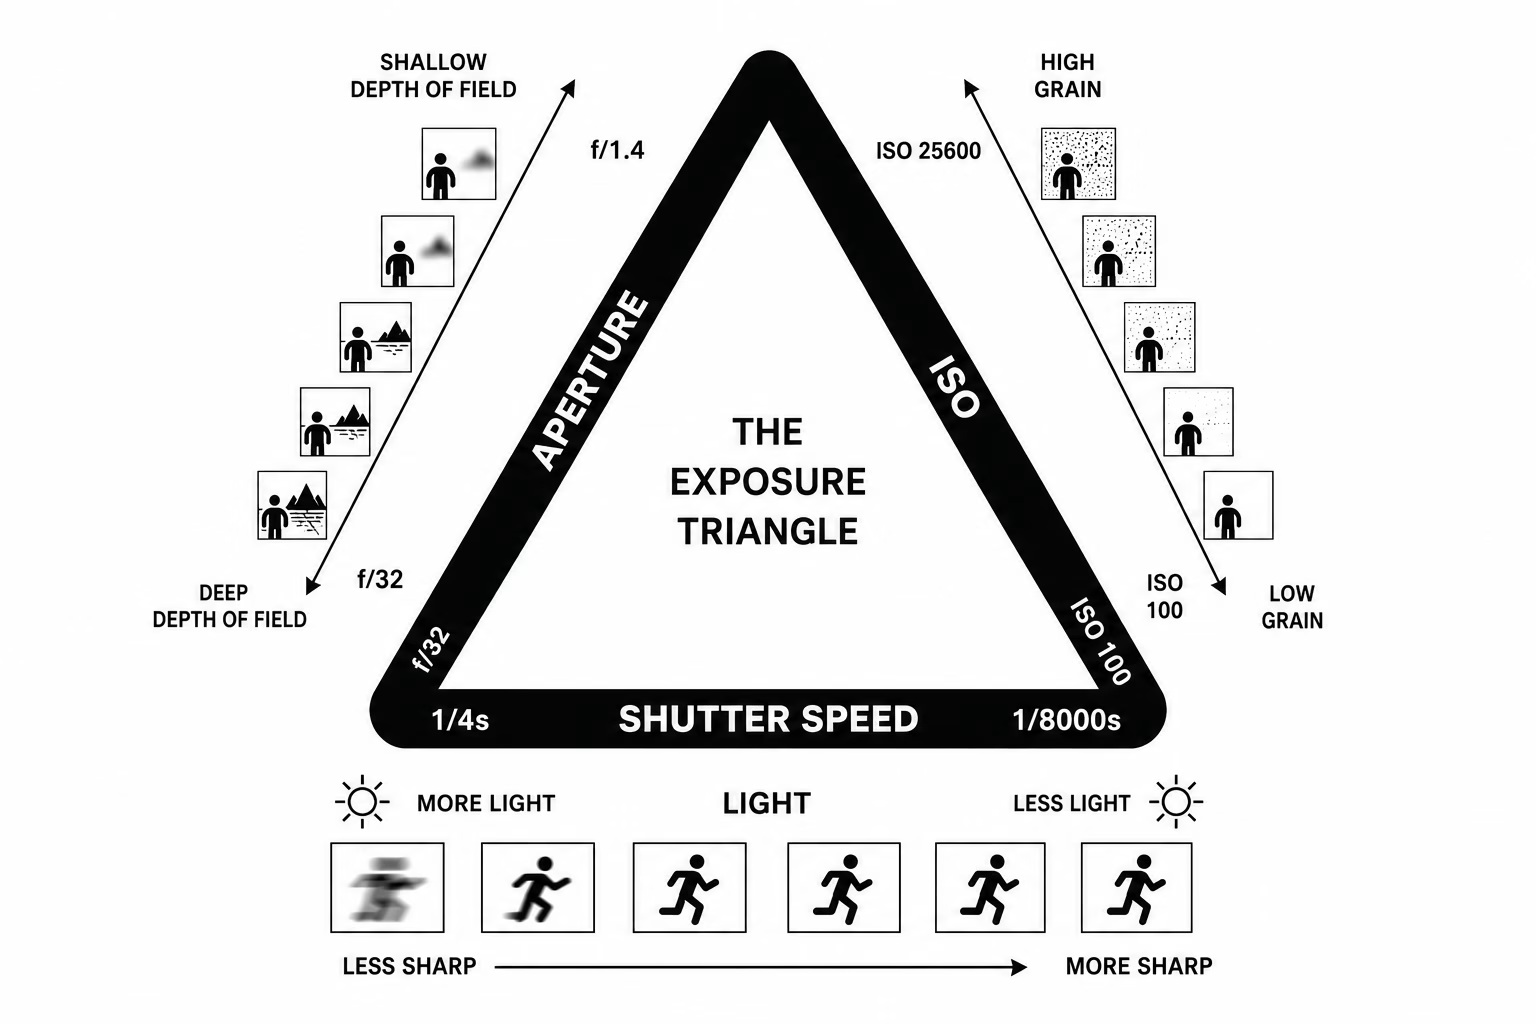
How much light enters
Controls depth of field
How long light enters
Controls motion blur
Sensor sensitivity
Controls noise / grain
There is no perfect setting — only the balance that creates the image you want.
 Balanced exposure
Continue Learning
Street Photography Basics · Composition in Street Photography · Light in Street Photography